Learn how to customize the look of your hhimagehost, configure your payment methods and the contact info shown to your customers.
WHAT YOU’LL NEED
- An HHImageHost account
- Studio logo and marketing images for site branding
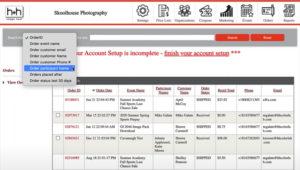
STEP 1 ACCOUNT SETTINGS
 | Login to hhimagehost.com Click on Settings icon |
STEP 2 SITE BRANDING
2A Photographer Logo or Banner
 | Click file icon Browse for file |
2B Background Image and Additional Graphics
 | Click file iconBrowse for file Continue with other graphics |
2C Fonts and Colors
 | Choose color options as needed to match branding |
2D Welcome Message
 | Replace “Welcome to Image Sales” with a personalized message |
2E Save and Continue
 | Click “Save and go to Personal Settings” to continue |
STEP 3 BUSINESS INFORMATION
3A Business Information
 | Note Studio URL prefix, based on Studio Name URL = (studio name prefix).hhimagehost.com |
3B Site Management
 | Set “Order Minimum” if you choose to Select Watermark option Load Watermark graphic is “custom” option chosen |
3C Public Contact Info
 | Update any contact info that needs to be different than account settings Click Save |
STEP 4 ACCOUNTING SETTINGS
 | Click Accounting Settings on left-hand menu |
4A Accounting Security Passphrase
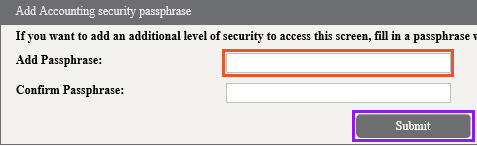 | Add Security Passphrase, to add an extra password protection to bank info (optional) Click Submit to save |
4B Credit Card Information on File
 | Click Edit to update credit card info if needed (used for monthly charge) |
4C Bank Account Information
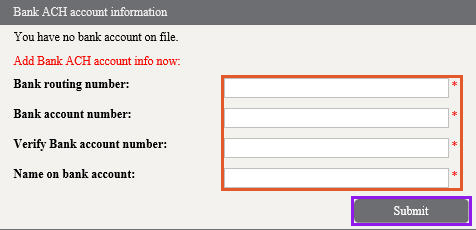 | Add bank account info (used to pay out sales) Click Submit to save |
4D W9 Information
 | Click “Edit” to fill out W9 tax information |
4E Email Forms
 | Update “Contact Us” if you choose Update email response if you choose Click Save |