DIFFICULTY Easy
STEPS 7
TIME REQUIRED 30 minutes – 1 hour
INTRODUCTION
Learn now to create a price list for your hhimagehost prepay events. Each price list can be reused on as many prepay events as needed.
All you need to do is add the packages, add-ons, additional charges and required subject identifier questions.
WHAT YOU’LL NEED
- Marketing images for all packages and Add-Ons.
- Make sure to include price of package on marketing image
- hhschools package summary
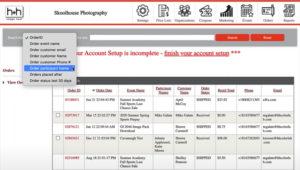
STEP 1 CREATE PRICE LIST

- Login to hhimagehost.com
- Click on Price Lists icon
- Click “Create Price List”
STEP 2 NAME PRICE LIST

- Enter Price List Name
- Select “Prepay V2”
- Click “Next Step” Button
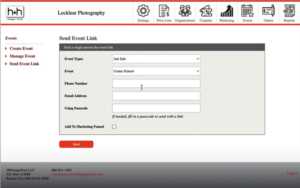
STEP 3 SUBJECT DATA QUESTIONS


- Add all player/student information you would normally ask for on the flyer
- Click Next for next step
STEP 4 [OPTIONAL] ADD ATTRIBUTES

If you are not offering a selection of
- Color flavor
- Pose
- Style
- Background
Skip to step 5. Otherwise:
- Choose Attribute type
- Enter option name
- Add Marketing Image
- Add Attribute short name
- Add Price
- Click Save
- Click “Add Option” and repeat for additional options· Click Next for next step
Minimum image size is 375x562px
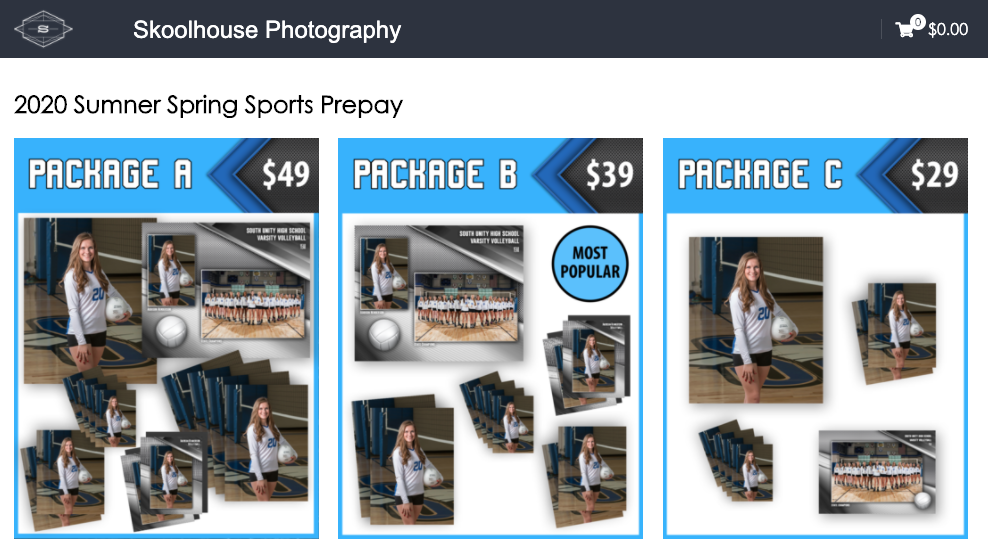
STEP 5 ADD PACKAGES

- Click “Add Package”
- Enter Package name
- Add Marketing Image
- Add hhschools package letter(s)
- Add Price
- Add text fields for info needed for this specific package
- Mark any package attribute selections needed for this package.
- Click Save Package
- Click “Add Package” and repeat for additional options·
- Click Next for next step
Make sure to include price of package on marketing image
STEP 6 ADD ADD-ONS

- Click “Add Add-on”
- Enter Add-on name
- Add Marketing Image
- Add hhschools package letter(s)
- Add Price
- Add text fields for info needed for this specific package
- Click Save Add-on
- Click “Add Add-on” and repeat for additional options
- Click Next for next step
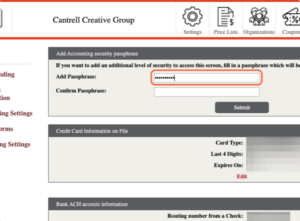
STEP 7 [OPTIONAL] ADDITIONAL CHARGES

If you are not requiring additional charges other than
- Sales Tax
- Ship-to-home fees
Click Finish. Otherwise:
- Click “Add Charge”
- Enter Charge name
- Add Price
- Choose either to always charge or charge after X days
- If after X days, enter value
- Click “Save Charge”
- Click “Add Charge” and repeat for additional options·
- Click Finish when complete